Development Environment Setup
This chapter details the development environment setup process for NG4520, including local environment configuration, source code deployment, cross-compilation, kernel and device tree updates, as well as remote debugging and desktop access. It aims to help developers efficiently build a development ecosystem for embedded AI edge computing devices.
1. Local Source Code Development Environment Setup
Prerequisites
- Ubuntu host (recommended 20.04/22.04 LTS, >100 GB space for cross-compilation
- Install essential development tools:
sudo apt update
sudo apt install git-core build-essential bc flex bison libssl-dev
Source Code Deployment
- Download and unzip the Linux_for_Tegra source code.
wget https://developer.nvidia.com/downloads/embedded/l4t/r36_release_v4.0/release/Jetson_Linux_R36.4.0_aarch64.tbz2
tar xf Jetson_Linux_R36.4.0_aarch64.tbz2
- Download and unzip the file system
wget https://developer.nvidia.com/downloads/embedded/l4t/r36_release_v4.0/release/Tegra_Linux_Sample-Root-Filesystem_R36.4.0_aarch64.tbz2
sudo tar xpf Tegra_Linux_Sample-Root-Filesystem_R36.4.0_aarch64.tbz2 -C Linux_for_Tegra/rootfs/
- Pulling kernel source code
cd Linux_for_Tegra/source/
./source_sync.sh -t jetson_36.4
- Deploying NVIDIA Tegra components
cd Linux_for_Tegra
sudo ./apply_binaries.sh
Cross-compilation toolchain deployment
Download and unzip the cross-compilation toolchain
wget https://developer.nvidia.com/downloads/embedded/l4t/r36_release_v3.0/toolchain/aarch64--glibc--stable-2022.08-1.tar.bz2
mkdir -p $HOME/l4t-gcc
tar xf aarch64--glibc--stable-2022.08-1.tar.bz2 -C $HOME/l4t-gcc
Compilation Method
Environmental Variables Configuration: the following environment variables need to be configured before each new terminal compilation:
cd Linux_for_Tegra/source
export CROSS_COMPILE=$HOME/l4t-gcc/aarch64--glibc--stable-2022.08-1/bin/aarch64-buildroot-linux-gnu-
export KERNEL_HEADERS=$PWD/kernel/kernel-jammy-src
export INSTALL_MOD_PATH=$PWD/Linux_for_Tegra/rootfs/
Complete compilation method (with kernel, module, device tree)
./nvbuild.sh
Separate Compilation Method
- Compile the kernel
cd Linux_for_Tegra/source
./nvbuild.sh -o $PWD/kernel_output
- Compile Out-of-Tree Modules
cd Linux_for_Tegra/source
make modules

# Install the module driver to the rootfs
sudo -E make modules_install
- Compile device tree
cd Linux_for_Tegra/source
make dtbs
Update kernel and device tree (non-flash method)
- Review the documentation
/boot/extlinux/extlinux.confto confirm the paths to the IMAGE and DTB currently used by the device, as shown below with the location information behind LINUX and FDT.
TIMEOUT 30
DEFAULT primary

MENU TITLE L4T boot options

LABEL primary
      MENU LABEL primary kernel
      LINUX /boot/Image
      FDT /boot/dtb/kernel_tegra234-NG45XX-p3768-0000+p3767-0003-nv-super.dtb
      INITRD /boot/initrd
      APPEND ${cbootargs} root=PARTUUID=756c2935-3ec5-487a-96c8-424f306ca235 rw rootwait rootfstype=ext4 mminit_loglevel=4 console=ttyTCU0,115200 firmware_class.path=/etc/firmware fbcon=map:0 nospectre_bhb video=efifb:off console=tty0
      OVERLAYS /boot/tegra234-p3767-camera-p3768-imx678-C.dtbo
- Make a backup of the original kernel image
sudo cp /boot/Image /boot/Image.backup
sudo cp /boot/dtb/kernel_tegra234-NG45XX-p3768-0000+p3767-0003-nv-super.dtb /boot/dtb/kernel_tegra234-NG45XX-p3768-0000+p3767-0003-nv-super.dtb.backup
- Copy the compiled IMAGE and DTB via the
scpcommand to the above paths and replace them.
sudo cp $HOME/Image /boot/Image.backup
sudo cp $HOME/kernel_tegra234-NG45XX-p3768-0000+p3767-0003-nv-super.dtb /boot/dtb/kernel_tegra234-NG45XX-p3768-0000+p3767-0003-nv-super.dtb
2. Remote debugging method
Pre-conditions
The Network Configuration for the AIBOX needs to be completed with the following configuration steps:
- Click on the top right corner of the desktop Ethernet → select "Wired Settings"
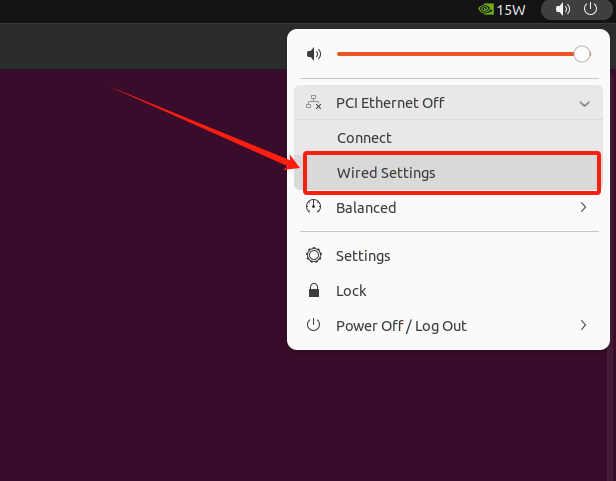
-
In the Network Settings pop-up window, select the current wired network connection.
-
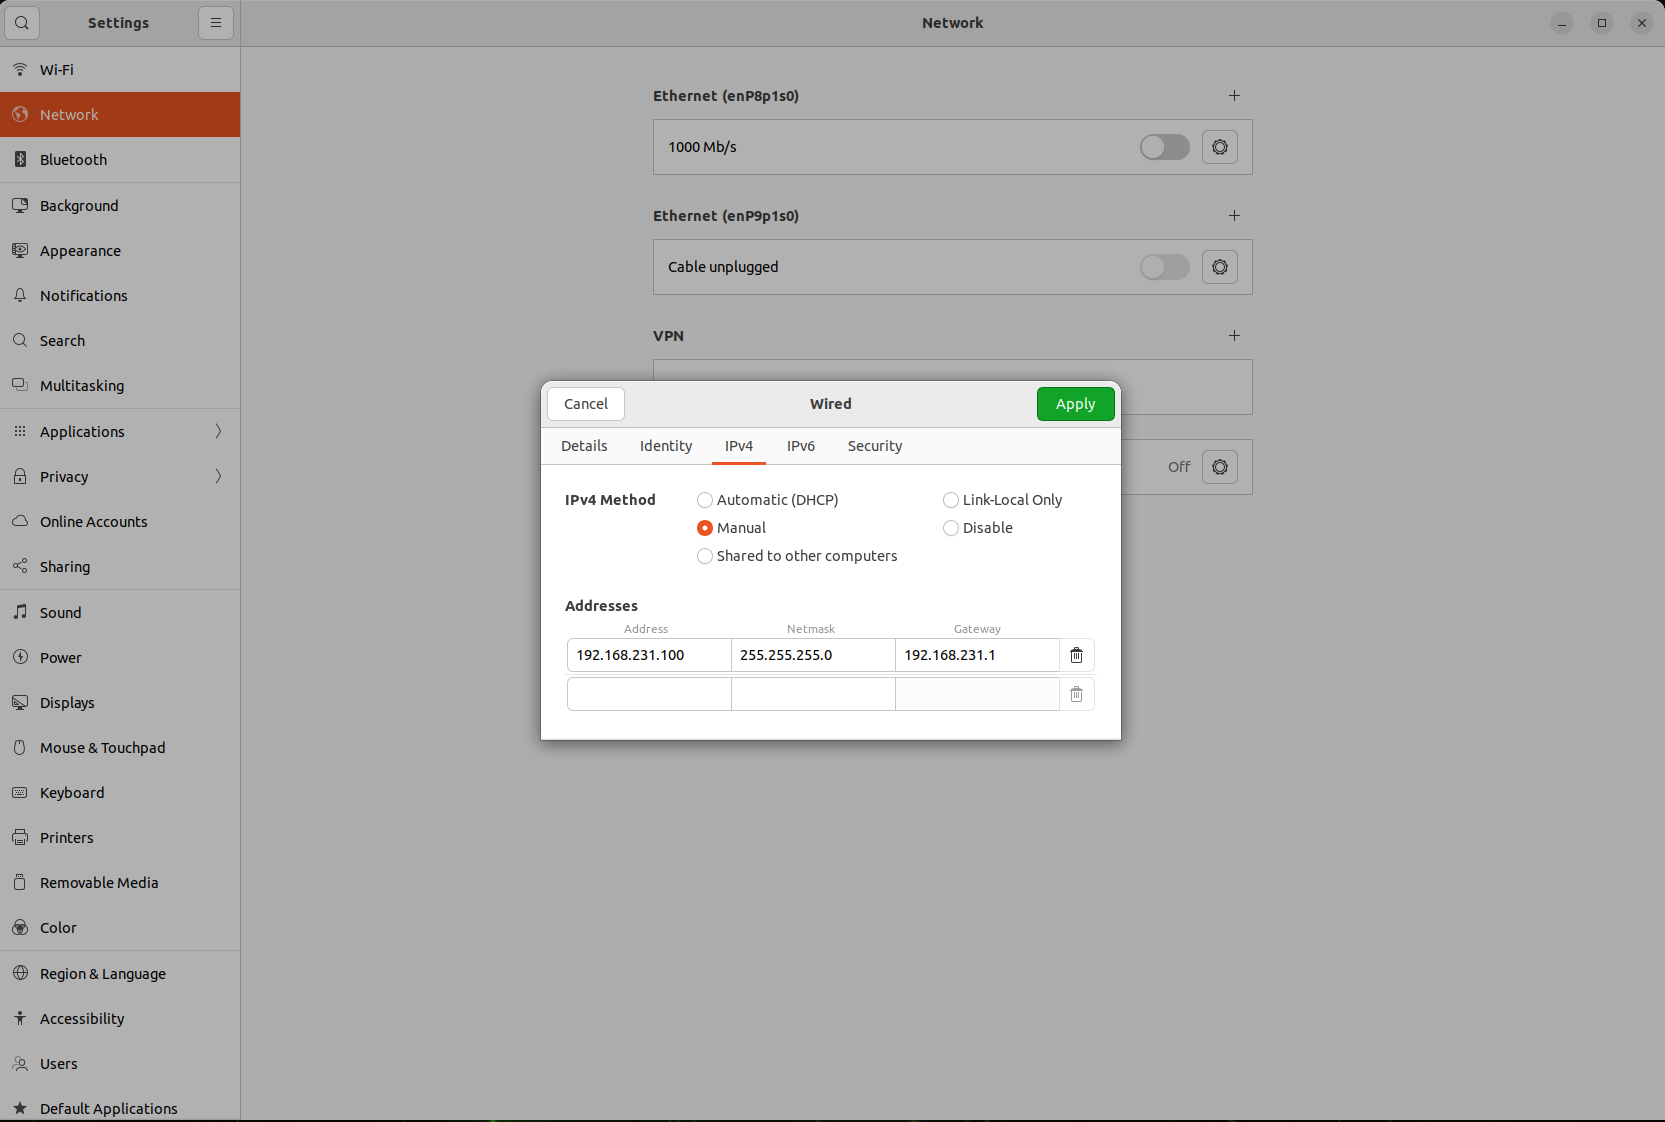
Click on the
gearicon to enter detailed settings-
Under the
IPv4tab, selectManualconfiguration. -
Enter the static IP address, subnet mask, and gateway. For example:
-
Address:
192.168.231.100 -
Netmask:
255.255.255.0 -
Gateway:
192.168.231.1
-
-
In the DNS section, enter the DNS server address, for example:
8.8.8.8和8.8.4.4 -
Click
Applysave settings.
-
- When the configuration is complete, reboot the network to apply the new settings.
Network Authentication
- Open a terminal and verify that the network is working by using the following commands
ping google.com
SSH Access
-
On a Windows computer, press
win+Rto open theRundialog box. -
Input
powershell,and then press Enter -
Connect to AIBOX via SSH using the following commands:
# Connect to AIBOX
ssh username@aibox-ip
# Example:
ssh milesight@192.168.1.100

# Execute remote command
ssh username@aibox-ip "uname -a"
# Usage example:
ssh milesight@192.168.1.100 "uname -a"

### RDP remote desktop access

1. Start the JETSON terminal and install the following:

```shell
sudo apt update
sudo apt-get install tightvncserver xrdp
sudo systemctl enable xrdp
sudo systemctl start xrdp
-
Open Remote Desktop Connection on Windows and enter Jetson's IP address.
-
Click “Connect” and enter your account password.
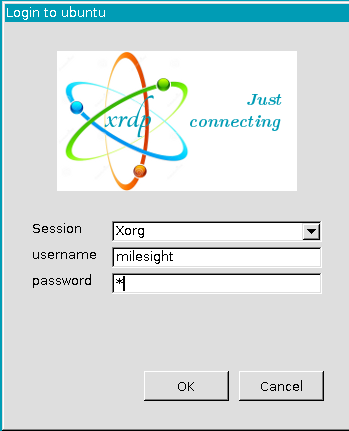
-
The following picture shows that the access is successful:

5.Additional Notes: Resolving Application Crash Issues
To resolve potential crash issues, modify thesudo vi /etc/xrdp/startwm.sh configuration file,replace the file content with the following:
if test -r /etc/profile; then
        . /etc/profile
fi

unset DBUS_SESSION_BUS_ADDRESS
unset XDG_RUNTIME_DIR

exec /bin/sh /usr/bin/gnome-session
Save the file and restart the XRDP service with the command:
sudo systemctl restart xrdp.service
Reference
Kernel Customization — NVIDIA Jetson Linux Developer Guide 1 documentation